Follow these steps for optimal results
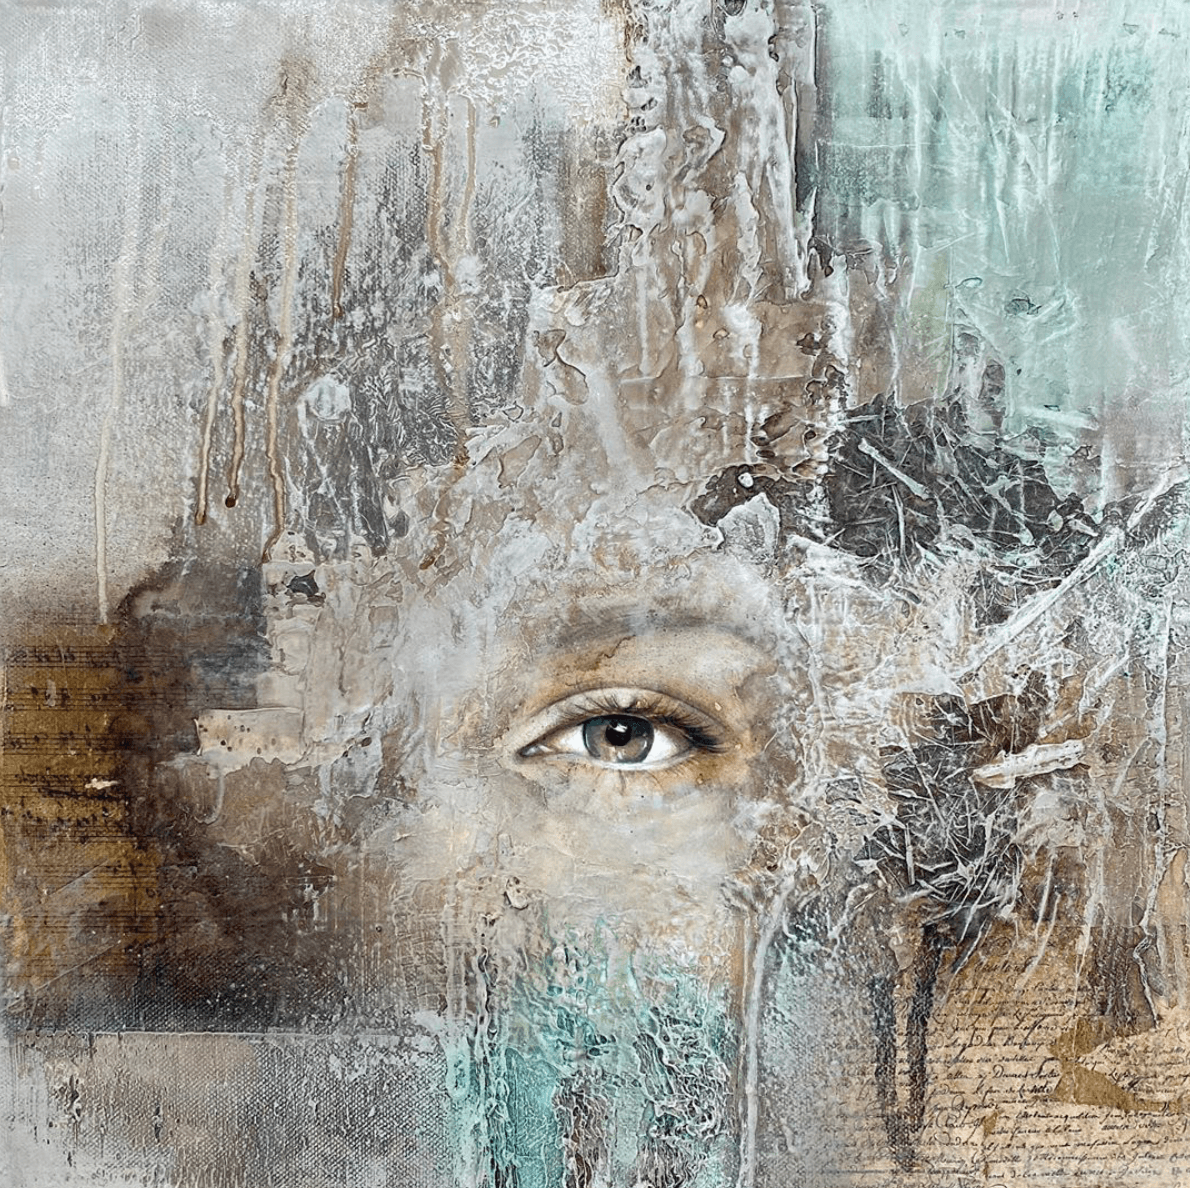
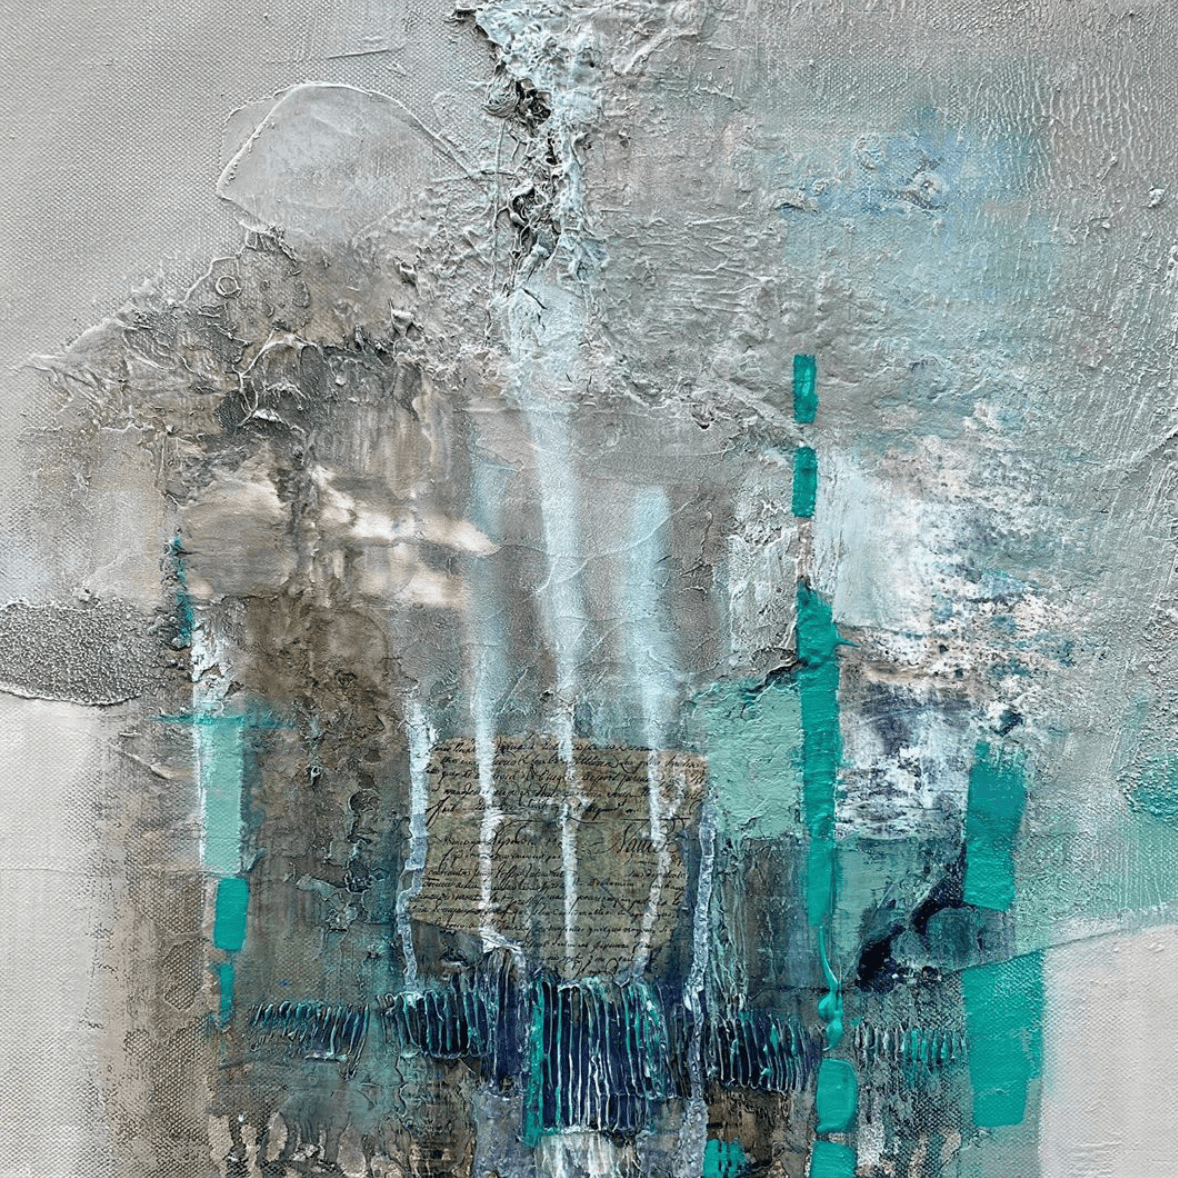
Cut out or tear the image you wish to use. Place this with the image side down and draw the outline on your surface. If you are working on canvas, place a book underneath as support. Use a soft brush to apply a layer of Powerprint to your support (canvas, cloth, etc). Only smear the area within the pencil lines. Then apply a layer of Powerprint on the image side of the copy and try to keep the same homogeneous thickness everywhere. Work quickly to keep both layers wet and place your picture facedown onto the treated canvas. Wipe off the excess of Powerprint with a sponge or cloth. Dry the image with a hairdryer, or Powertex heat tool, (on the hottest setting) for 10 minutes on each side. Or use a hot iron and a sheet of baking paper. Let it cool down. Wash away the paper with a damp sponge so that only the ink remains in the water-resistant Powerprint layer. If a hazy layer appears after drying, wash it off again with a sponge. Rubbing away with your fingers often gives a little more precision but do it carefully. If the image remains milky after drying, brush a layer of Powerprint over it and the milky effect will disappear. You can use Powerprint for special effects on decorations, paper, collage, paintings, on top of Powertex and Stone Art structures or on a layer of Easy Structure. Tip: Transfer a portrait of your children, grandchildren, or your pet to a canvas. This always makes a nice present.
FOR OUTDOOR USE, APPLY TWO EXTRA COATS OF POWERPRINT AFTER THE COMPLETE FINISH OF YOUR WORK. YOU CAN DOWNLOAD A PDF WITH STEP-BY-STEP PICTURES, SEE SALES OF POWERPRINT PRODUCTS.
